
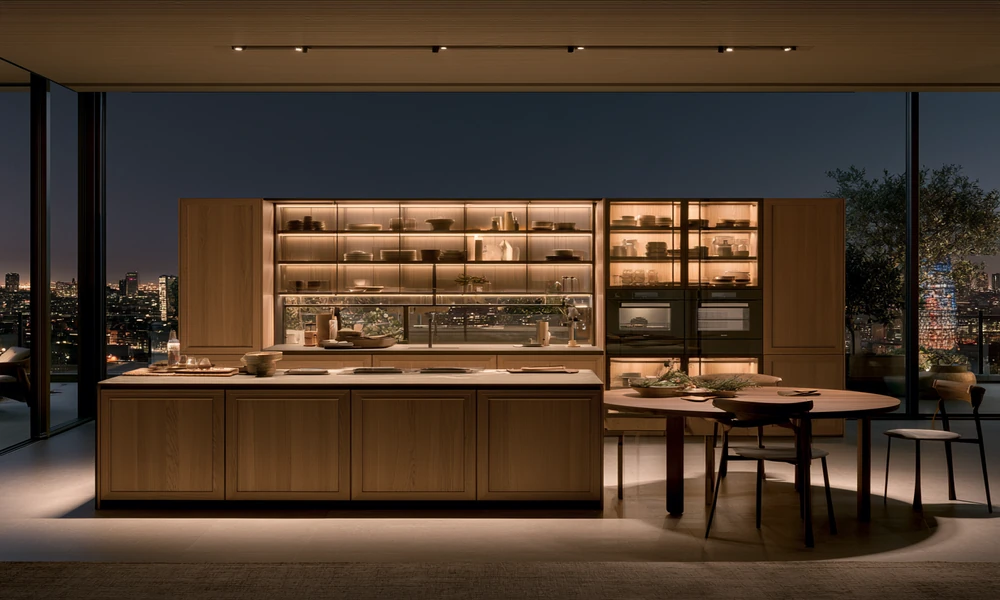
A kitchen can feel old even when everything still works. Sometimes, the biggest reason is the cabinets. Worn doors, faded colors, loose handles, and outdated finishes can make the whole room look tired.
The good news? You do not always need to buy expensive new cabinets.
A do it yourself kitchen cabinet project can turn basic plywood into something clean, stylish, and personal. With the right plan, a few tools, and some patience, you can give your kitchen a serious glow-up without paying for a full remodel.
Why Try a Do It Yourself Kitchen Cabinet Project?
Kitchen cabinets can be expensive. Custom cabinets may look beautiful, but the cost of materials, labor, delivery, and installation adds up quickly.
DIY gives you another option.
Building or upgrading cabinets yourself lets you control the design, size, finish, and budget. You can work on one cabinet at a time instead of changing the entire kitchen at once.
There is also something satisfying about looking at a finished cabinet and knowing, “I made that.”
Plywood is especially useful for DIY projects. Good-quality plywood is strong, easy to cut, and available in different thicknesses and finishes. It can create a solid base for both modern and traditional cabinet styles.
Start With a Simple Plan
Do not start cutting plywood as soon as you get home from the hardware store.
Measure first.
Measure the width, height, and depth of the space where your cabinets will go. Check the measurements more than once. Walls and floors are not always perfectly straight, especially in older homes.
Next, sketch your cabinet.
Your drawing does not need to look professional. Mark the basic dimensions, shelves, doors, drawers, and hardware locations. Decide what you actually need from the cabinet.
For example, do you need deep storage for pots? Small drawers for kitchen tools? Adjustable shelves for food containers?
A good do it yourself kitchen cabinet should solve a storage problem, not just look attractive.
Choose the Right Plywood
Not every sheet of plywood belongs in a kitchen.
Kitchen cabinets deal with moisture, spills, heat, and daily use. Look for cabinet-grade plywood with a smooth surface and strong core.
For the main cabinet box, 3/4-inch plywood is a common choice because it provides good strength. Thinner plywood may work for cabinet backs or other areas that do not carry much weight.
Check each sheet before buying it. Avoid badly warped pieces, damaged edges, or large surface defects.
If you plan to paint your cabinets, choose plywood with a smooth face. If you want a natural wood finish, select a plywood species and grain pattern that you actually want people to see.
Gather Your Tools and Supplies
You do not need a professional woodworking shop, but having the right tools makes the job easier.
Common supplies include:
- Plywood
- Measuring tape and pencil
- Circular saw or table saw
- Drill and drill bits
- Screws
- Wood glue
- Clamps
- Sandpaper or an electric sander
- Hinges and handles
- Wood filler
- Primer and paint, stain, or clear finish
- Safety glasses and hearing protection
A straightedge or cutting guide can also help you make cleaner cuts with a circular saw.
Build the Cabinet Box Carefully
The cabinet box is the foundation of the project.
Cut your plywood panels according to your measurements. Keep your cuts as straight and accurate as possible. Small mistakes can become bigger problems when you start putting the pieces together.
Dry-fit the panels before using glue. This means placing the pieces together without permanently attaching them. It gives you a chance to spot measurement problems.
Once everything fits, apply wood glue and secure the pieces with screws.
Use a carpenter’s square to check your corners. A cabinet that is not square can cause problems later when you install doors, drawers, or shelves.
Take your time here. Speed is not the goal.
Give the Doors Some Personality
Cabinet doors have a huge effect on the final look.
For a simple modern kitchen, flat plywood doors can work beautifully. Sand them smooth, finish the edges, and add clean handles.
If you want more detail, you can create a Shaker-style appearance using wood strips around the front of a flat panel.
You can also refresh existing cabinet doors instead of building new ones. A good cleaning, sanding, fresh paint, and new hardware can make old cabinets look surprisingly different.
This is where a basic do it yourself kitchen cabinet can start looking like a much more expensive upgrade.
Do Not Skip the Sanding
Sanding is not exciting, but it matters.
Rough edges and uneven surfaces can make a well-built cabinet look unfinished. Start with a rougher sandpaper when necessary, then move to a finer grit for a smoother surface.
Pay special attention to visible plywood edges.
You can cover exposed edges with edge banding or thin wood trim. Edge banding is a simple way to hide plywood layers and create a cleaner, more professional appearance.
Before painting or staining, remove all sanding dust.
Paint or Stain for the Big Transformation
Now comes the glow-up.
Paint can completely change the personality of your cabinets. White and warm neutral shades can make a small kitchen feel brighter. Dark colors can create a bold, modern look. Soft greens, blues, and earthy tones can add personality without becoming overwhelming.
Use primer before painting when the material and paint system require it. Apply thin, even coats instead of one heavy coat.
Prefer natural wood?
Use stain to highlight the grain, followed by a suitable protective finish. Since kitchens face spills and frequent cleaning, choose a finish that can handle regular use.
Allow each coat to dry properly. Rushing the finishing stage can ruin hours of careful work.
Upgrade the Hardware
Never underestimate handles and hinges.
Replacing cheap or outdated hardware can instantly improve a cabinet. Matte black pulls can create a modern look, while brushed metal can feel clean and timeless.
Soft-close hinges are another upgrade worth considering. They prevent doors from slamming and make a DIY cabinet feel more polished.
Make a simple drilling template before installing handles. It helps keep every handle at the same height and position.
Install and Check Everything
Once your cabinet is finished, carefully move it into position.
Base cabinets should sit level. Wall cabinets must be securely attached to suitable structural support. Because loaded cabinets can become extremely heavy, proper installation is important for safety.
After installation, test every door, drawer, and shelf.
Do the doors close evenly? Are the gaps consistent? Do drawers slide without rubbing?
Small hinge adjustments can often fix minor alignment problems.
From Basic Plywood to a Kitchen You Love
A successful do it yourself kitchen cabinet project is not about creating a factory-perfect cabinet on your first try. It is about making something useful, attractive, and right for your space.
Start simple. Measure carefully. Choose strong materials. Focus on clean cuts and a good finish.
Even basic plywood can look impressive when the details are handled with care.
And that may be the best part of the project. You are not simply replacing an old cabinet. You are turning an ordinary material into something that makes your kitchen feel fresh again-one cut, screw, coat of paint, and handle at a time.