
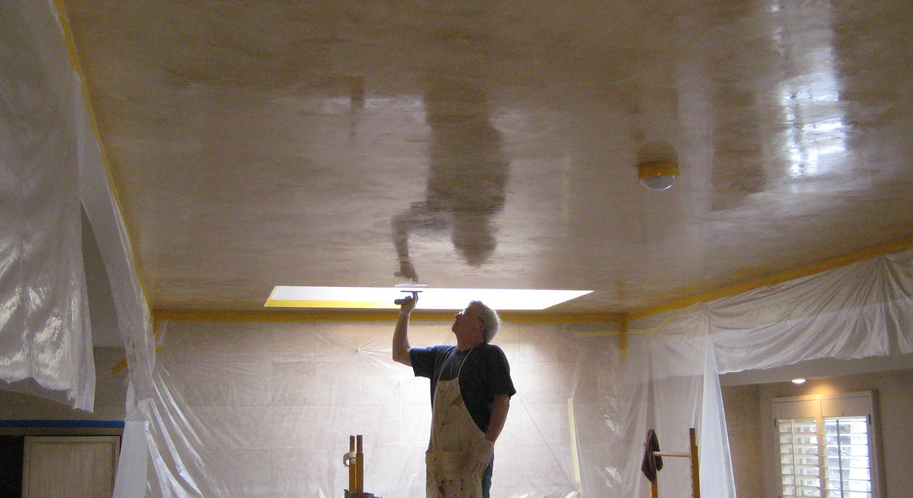
The Venetian polished plaster finish features plaster mixed with marble dust and applied by trowel or spatula in several thin layers. They are then burnished to provide a smooth and textured surface that gives a 3D appearance. Venetian plaster can yield a highly polished, rock-hard surface that looks like marble when properly applied. Using a coat-by-coat process, Venetian plaster is applied in three full coats.
First coat
Although the first coat has little impact on the final surface finish, the next two coats are critical to having the final finish.
Put a thin coat of plaster on the corners of the room first, working your way inward with your trowel and hawk. There is no need to worry if the coating is so thin that you can see through it. Just making sure it is even and thin is all you need to do. Smoothing the surface is your goal.
You should leave the first coat to dry at least 16 hours after you are satisfied it is nice and even.
Second coat
Start with 400-grit sandpaper, then 600-grit sandpaper, or use steel wool to sand the walls or ceiling before applying the second coat. Put very little pressure on small areas and work in circular motions. Where necessary, retape your walls and ceilings. The second coat is now ready for application.
Filling the first coat is the goal of the second coat. You will find this stage easier if your first coat is smooth. Once again, start at the corner, move inward, and keep it thin and even. For consistent coverage, use thin, short strokes. After you’ve finished your coat, let it dry for at least 24 hours.
Third coat
For the ultimate flawless finish, Venetian polished plaster has to be applied a third time. You do not need to sand ahead of applying this coat. The process is the same as for the second coat.
After the final coat is dry, let it sit until it turns matte. Ideally, this should not take more than one hour. You will find polishing difficult if you leave it too long.
Polishing
The trowel must be held flat against a wall or ceiling. Make small circles by pressing lightly. Venetian polished plaster takes on its unique appearance when it is flattened and burnished. This brings out the brilliant contrasts of colours. Be careful not to scratch or nick the plaster with the corners of the trowel. Repair this immediately and allow to dry as matte again if it occurs.
Dust should now be wiped away with a lint-free cloth. As before, sand the surface again. Surfaces with finer grains will reflect more light and have a higher sheen. To remove the last dust, wipe it down again with a clean, lint-free cloth.
Finishing
If you want a Venetian polished plaster that shines and keeps dirt and grime out, there are a number of finishes you can use. Polished plaster specialists prefer Cera Wax because it is one of the most widely used types. Apply the wax with a mutton cloth until you see the gorgeous mirror finish you’ve been dreaming of. For more information on polished plaster you can check with the different contractors.